Test in Sandbox
Test in Sandbox
To test in the Checkbook sandbox environment, peform the steps described below.
Go to Sandbox
For testing in Sandbox, you first need to go to your Sandbox environment. Click on the Settings link found oi the account drop-down:

On the Settings page, go to the Developer tab from the menu panel and click on GO TO SANDBOX to switch to your Sandbox environment:

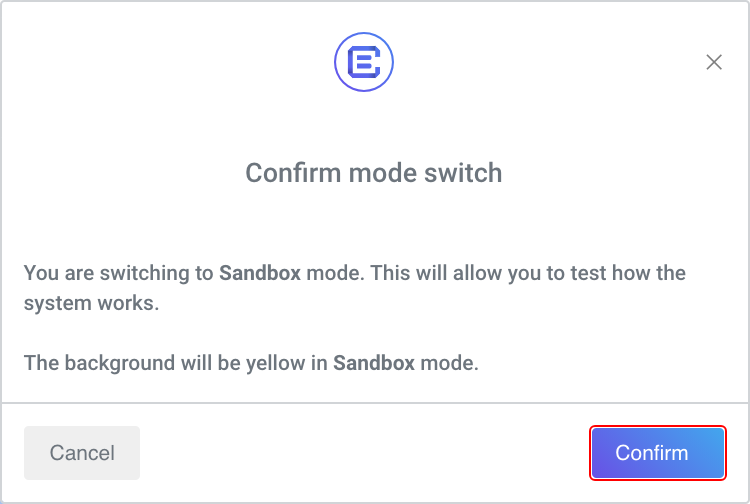
You will then see a modal appear prompting you to confirm that you would like to switch to the sandbox environment. Click Confirm to switch from the live environment to the sandbox environment.

Once you are in the Sandbox environment, you will see a button that enables you to switch back to the live environment at any time:

Email verification code
When switching to Sandbox for the first time, you will be prompted to verify your email by entering a verification code that you receive by email. That code is always 123123 in Sandbox.
Retrieve the API keys
On the Sandbox Settings page you can find your Sandbox API keys:

API keys by environment
The API keys are different in each environment. You need to use your Sandbox keys in the Sandbox environment and your Production keys in the Production environment.
In the image shown above, you will see a Delete data button. This is only available in the Sandbox environment for testing purposes and enables you to delete all of your transaction data from the Sandbox environment.
Add a bank account
Now that you have the Sandbox API keys, you can add a bank account using the Sandbox API. Make sure to use the proper Authorization header:
Authorization: YOUR_SANDBOX_API_KEY:YOUR_SANDBOX_SECRET_KEY
Using the API
At this point, you can follow the instructions for adding a Bank Account using the API. You may either use Manual Verification or Instant Account Verification. Whenever there are Sandbox specific instructions, you will see the disclaimer show below.
Sandbox testing
In the Sandbox environment, the micro-deposits values are always
0.07and0.15
Using the Web Interface
If you prefer to add a bank account using Checkbook's web interface, the process has been simplified for you by pre-filling the account information. If you have not done so already, select your profile type, which can be either Individual or Business.
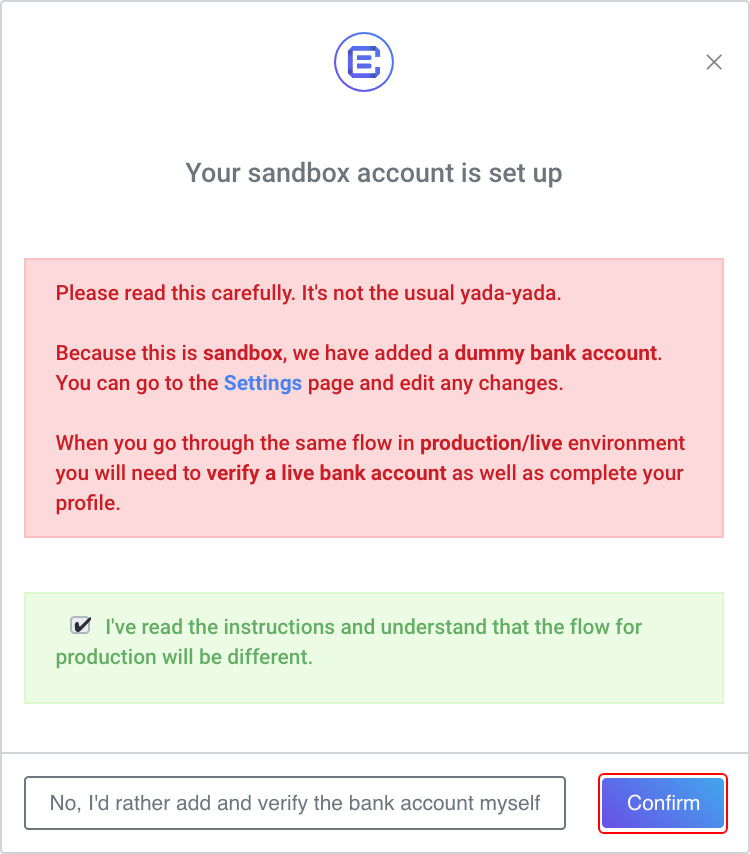
For the first bank account, you can choose to add a dummy account by just clicking the Confirm button that you see here:

If you would prefer to go through the usual process of adding a Bank Account you can do that too by clicking on the other button. You can either use Manual Verification or Instant Account Verification.
Instant Account Verification
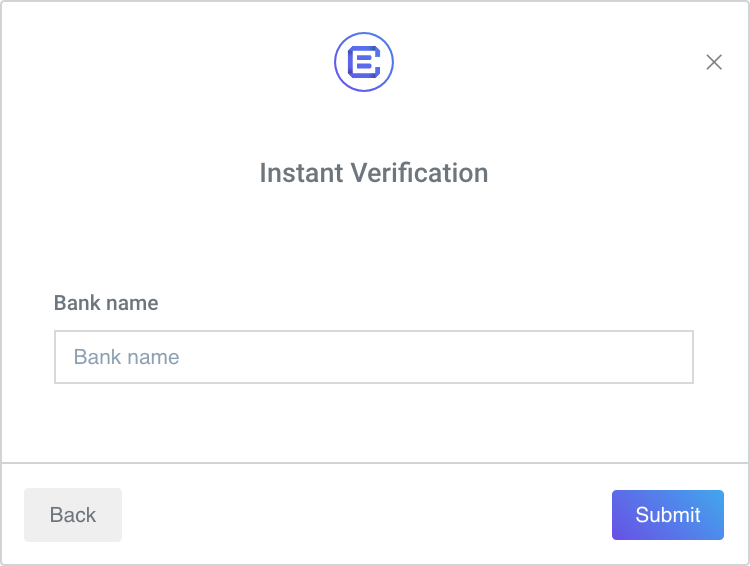
If you use the web interface, depending on what bank account you select from the list, Checkbook will display one of the two following forms for logging in to your bank: Plaid, or Checkbook.
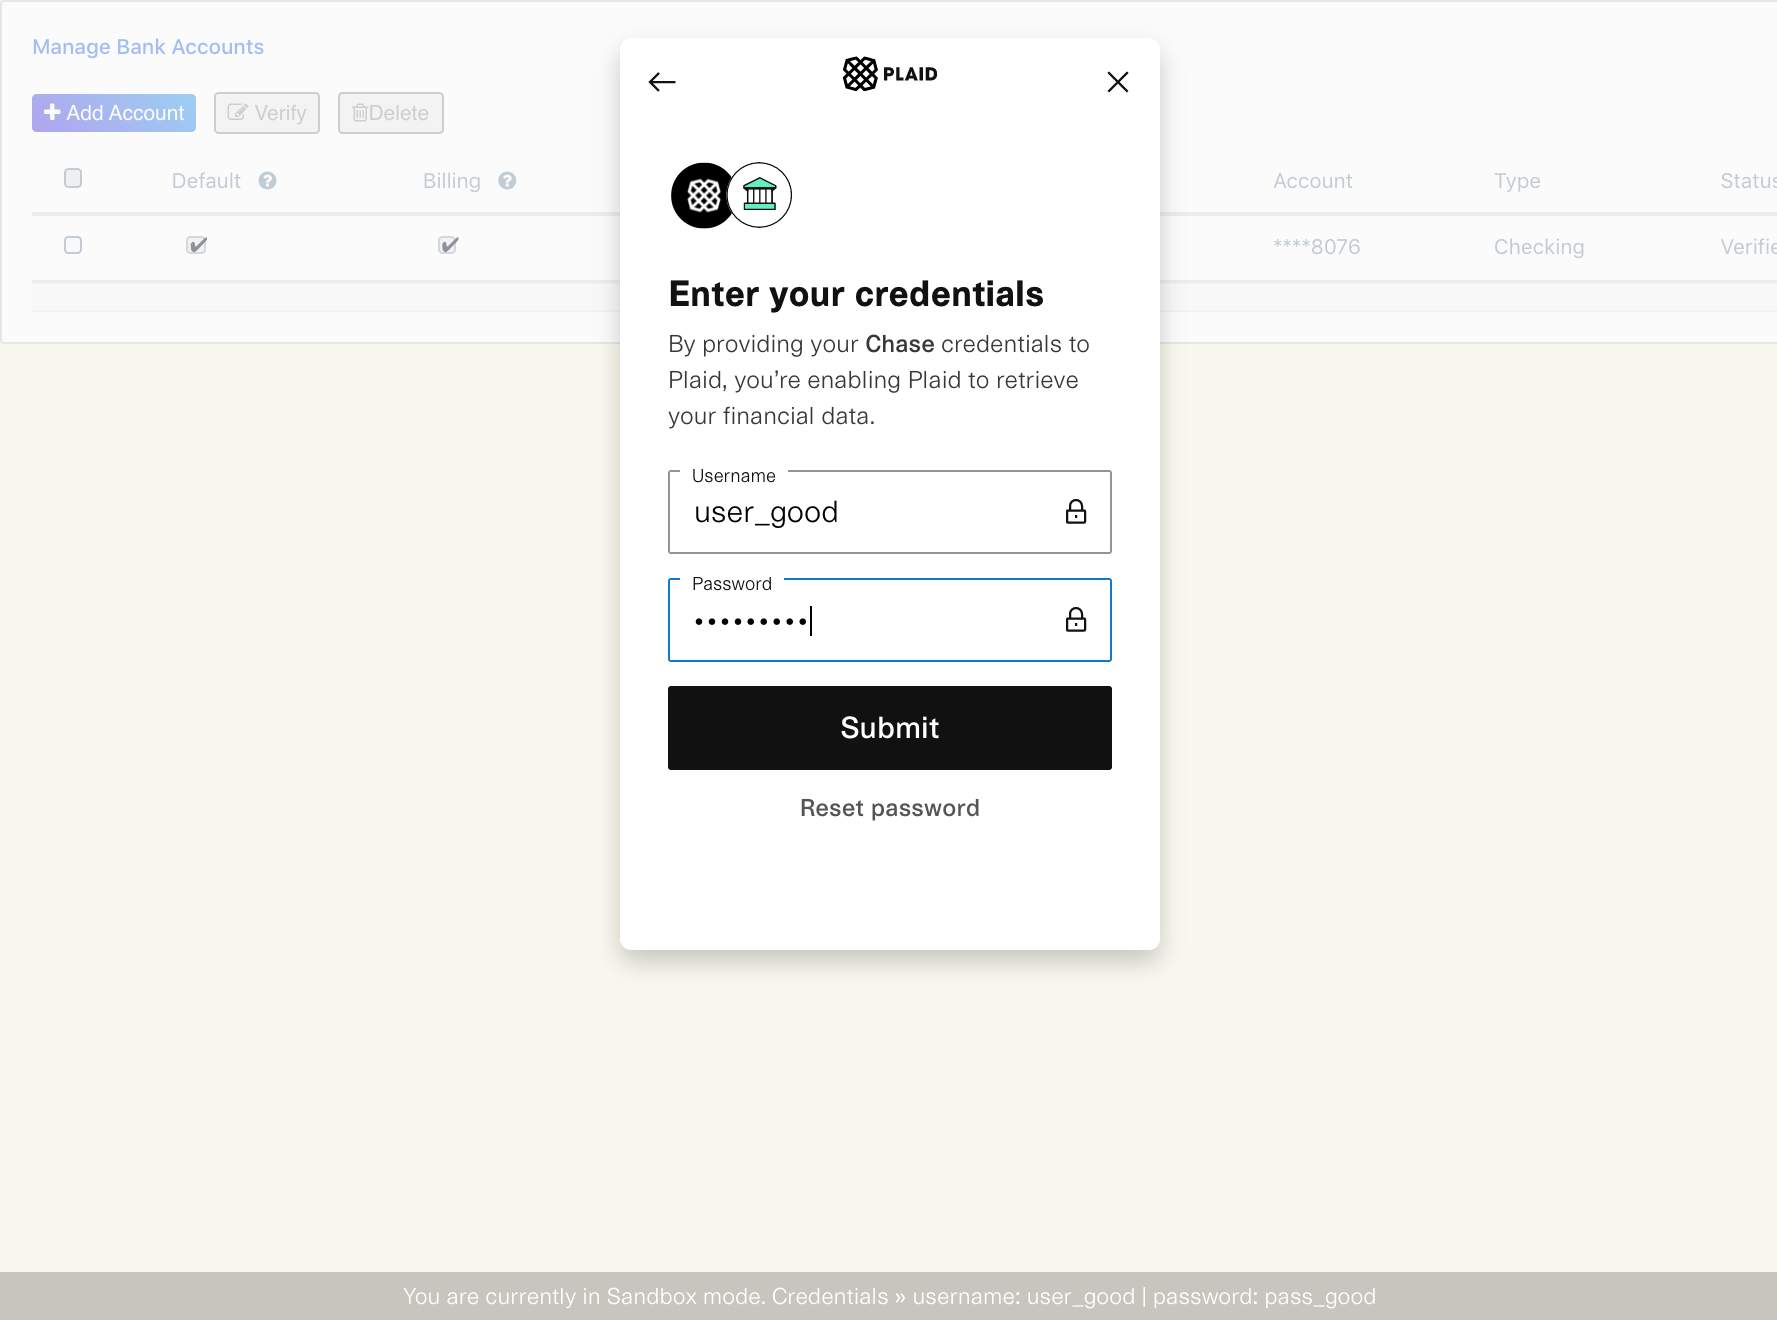
Plaid form
If you see this form, you will need to enter the username
user_goodand the passwordpass_goodas test credentials to log in to the selected bank. These credentials only work in Sandbox, thus, in the live environment you will need to use your real credentials.

Checkbook form
If you see this form, you will need to enter the username
checkbook_testand the passwordcheckbook_goodas test credentials to log in to the selected bank. These credentials only work in Sandbox, thus in the live environment you will need to use your real credentials.

Working with Checks
When working with checks in the Sandbox environment, please note that you may generate a PDF version of the check, but you will be unable to print a PDF version of the check unless the check image already exists.
Updated over 1 year ago
