Virtual Card
Virtual Card
Overview
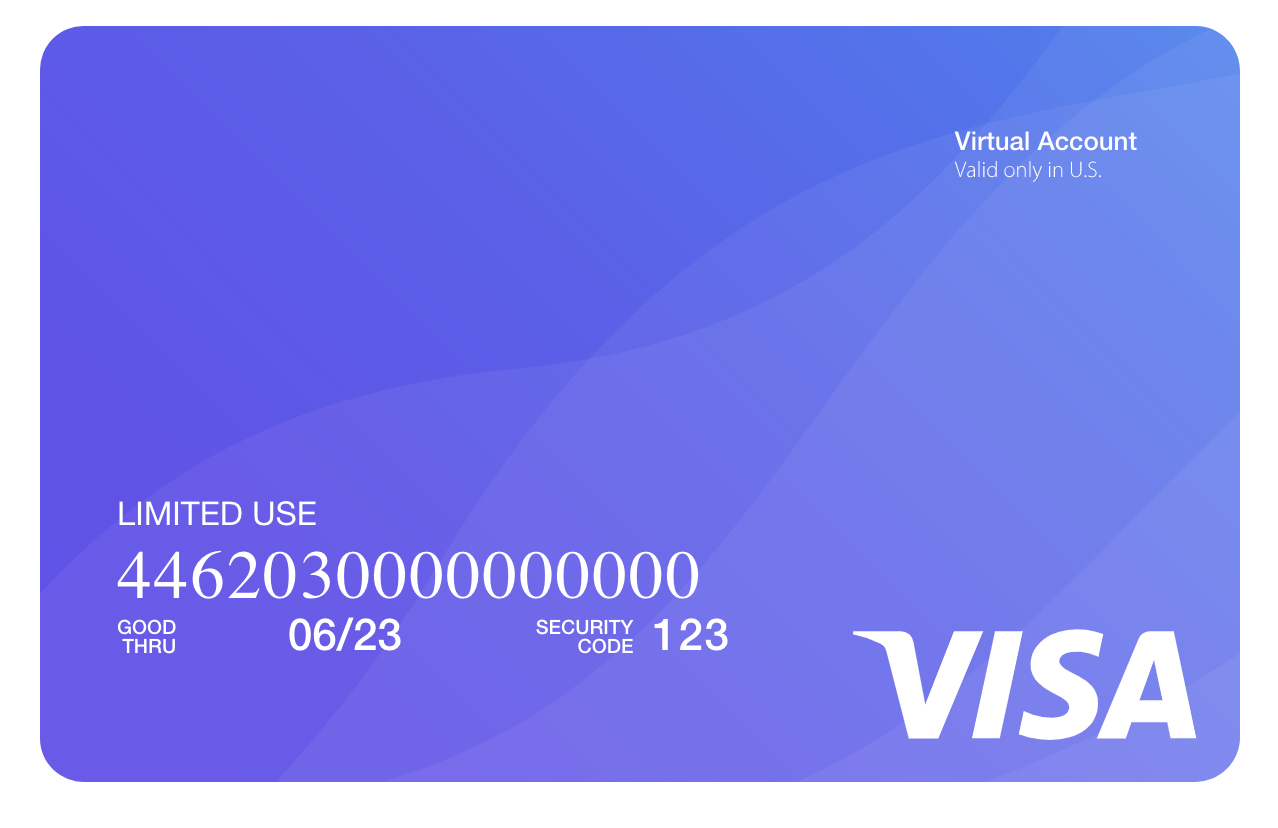
Virtual cards offer security, privacy, and assist individuals who are underbanked. A virtual card is a 16-digit card which can be used to make online purchases, pay bills, and can even be added to a phone wallet like Apple Pay or Samsung Pay for use in stores. Checkbook also offers Just-In-Time (JIT) funding for having more control over the process while capturing unused funds.
The API reference for sending a Virtual Card can be found here. The interactive form enables you to test the API endpoint in the Checkbok demo environment directly from the reference page.
Request
curl --request POST \
  --url https://demo.checkbook.io/v3/account/vcc \
  --header 'Accept: application/json' \
  --header 'Content-Type: application/json' \
  --data '{"address":{"line_1":"1234 N. 1st Street","city":"San Francisco","state":"CA","zip":"12345"}}'
Response
{
"card_number":"4622941100000004"
"expiration_date":"2021-10-14"
"date":"2019-06-03 13:37:41"
"id":"0ac44e5679964cb9bc7f97966dc56a73"
}
In order to deposit a check to the new Virtual Card, an API call needs to be made to the deposit a check endpoint by specifying in the account field the id of the Virtual Card.
Authorize transactions
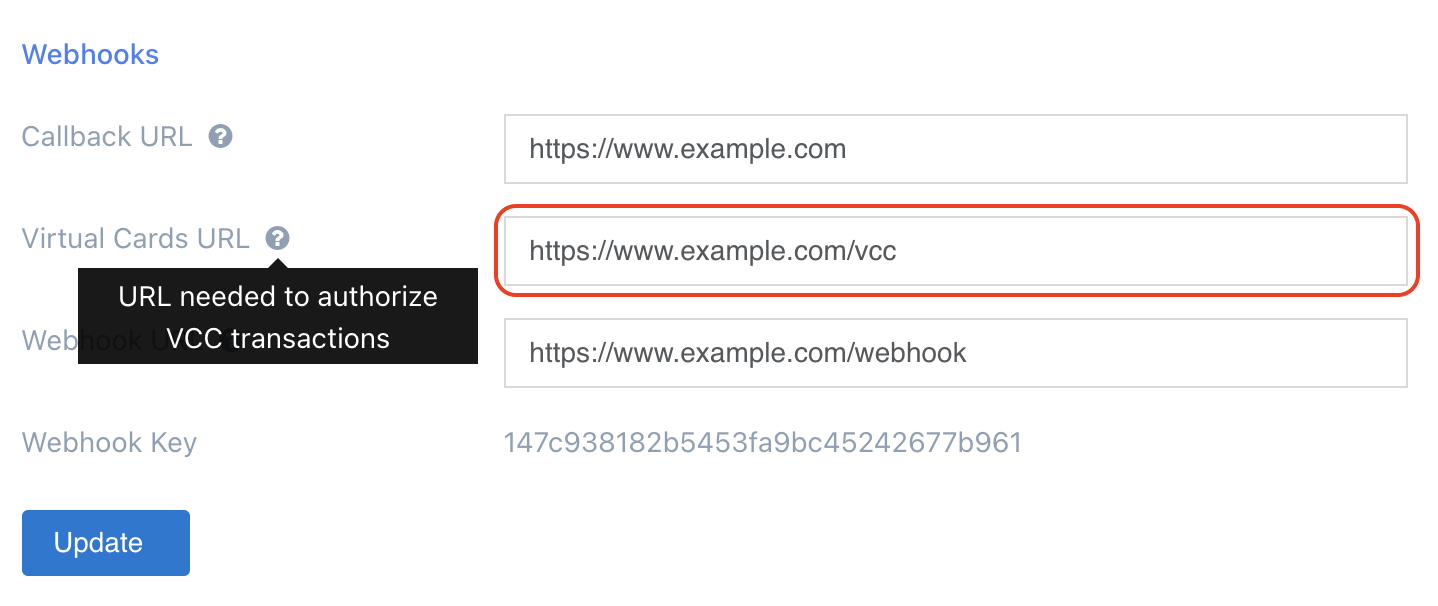
Checkbook offers you the possibilty to allow / deny specific transactions for a virtual card in real time. By setting a webhook for "Virtual Cards URL" in the Developer Settings, you can receive a callback whenever a new transaction is initiated on a virtual card.

The webhook you defined will receive a POST call from Checkbook's servers with a payload containing the following values:
{
  	"amount": "the transaction amount",
    "user_id": "id of the user associated with the virtual card",
    "account_id": "virtual card id",
    "recipient": "merchant description"
}
If the status code of the webhook response is 2XX, then it is considered that you approved the transaction. If not, the transaction is denied. For example, if your server responds with a 200 status code to the webhook request, then it means the transaction was approved. If, on the other hand, the server responds with a 400 status code, then the transaction was denied.
PCI Compliance
If you would like to store the virtual card information on your servers, you will need to comply with the Payment Card Industry Data Security Standards (PCI DSS). You can also reduce your PCI obligations by leveraging Checkbook's hosted iframe solution, which is described in the following section. You can include this iframe in your side to display the virtual card information.

Here is an example of a simple page that embeds an iframe for displaying the virtual card information:
<html>
	<head>
		<script src="https://app.checkbook.io/embed/vcc.js"></script>
	</head>
	<body>
		<div>
			<div>
				<div id="container" style="width: 600px; margin: auto"></div>
			</div>
		</div>

		<script type="text/javascript">
		    CheckbookVccDetails({
		        env: 'PROD',
		        card_id: '21577e853f9642dda8f8558458f70246',
		        signature: 'eyJ0eXAiOiJKV1QiLCJhbGciOiJIUzI1NiJ9.eyJjYXJkX2lkIjoiMjE1NzdlODUzZjk2NDJkZGE4Zjg1NTg0NThmNzAyNDYiLCJleHBpcmF0aW9uIjoiMjAyMS0wNC0yNyAwNTo0Njo0MC4xMjgwNTMifQ.62Hci1WUZZ9D0HJ8uM-c18e2EJB1b1cXrwvP8DdFIzo'
		    }).render('#container');
		</script>
	</body>
</html>
The CheckbookVccDetails takes 3 parameters:
envwhich can be eitherPRODorSANDBOX. If you useSANDBOXthe script will need to be loaded from https://sandbox.checkbook.io/embed/vcc.jscard_idwhich is the ID of the Virtual Card account (returned when creating the Virtual Card).signaturewhich is a JWT that uses the secret key and SHA256 algorithm to encode a JSON payload in the following format:
{
  "id": string,
  "exp": int
}
where id is the card's ID and exp is an optional expiration time as a UTC UNIX timestamp (an int) specifying when the JWT should be expired/invalidated. Here is an example of payload:
{
  "id": "21577e853f9642dda8f8558458f70246",
  "exp": 1371720939
}
Create and fund a Virtual Card via API
To create and fund a virtual card via the API there are some prerequisites:
Prerequisites:
- Marketplace Functionality Enabled
- Prefund/Custodial Account
- API access
Instructions:
PASS IN Specify a USER_ID - this can be any string you would like.
RETURNED: Store the API key and secret (marketplace owner keys)
- Create Virtual Card within the user from (1)
PASS IN: Use the API Key:Secret from (1)
RETURNED: Store the ID that is returned
- Get Prefund Account ID from Get Bank Accounts endpoint.
PASS IN: Use marketplace owner/master account API credentials
RETURNED: Store the ID of the bank account with a non-NULL ‘balance’ this is the prefund account.
- Create Digital Check from the master account to recipient being
user_idfrom (1)
PASS IN:
Use marketplace owner/master account API credentials
Recipient: user_id from (1)
Account: ID of the prefund account from (3).
RETURNED:
Store check_id (ID)
- Deposit the payment into the Virtual Card
PASS IN:
Use User's API credentials from (1)
Account: ID of virtual card from (2)
Check_id: check_id from (4)
You have now successfully created and funded a virtual card.
Note for Apple/Google Wallets:
In order to add the cards to an Apple/Google wallet, there is a verification code that will be sent to the email associated with a card. This can be any email.
To add an email when creating a card, add this parameter to the payload on the Add Card endpoint from Step 1:
{
    "email": STRING
}
Updated about 1 year ago
